如果發現自己的VPS伺服器異常,一般地我們可以從伺服器日誌中來分析,看看是不是有不守「規矩」的IP來源。例如,我們可以使用伺服器日誌分析利器:ngxtop和GoAccess來分析統計日誌當中的IP來源、連線數量、錯誤請求、瀏覽器、流量頻寬等等。
同時,對於一些複雜的網站應用程式也可以從伺服器的網路流量分析異常原因。本篇文章就來分享兩個非常實用的伺服器網路流量監控工具:ntopng和Munin。 ntopng是NTOP的新一代版本,官方原先版本的NTOP已不再更新,新的ntopng在監控網路資料傳輸、排除網路故障方面功能十分強大。
ntopng透過分析網路流量來判斷網路上存在的各種問題,還可以監控是否有駭客正在攻擊網絡,如果網路突然變緩慢,透過Ntop截獲的資料包,可以確定是什麼類型的資料包佔據了大量頻寬,以及資料包的發送時間、資料包傳送的延遲、資料包的來源位址等。
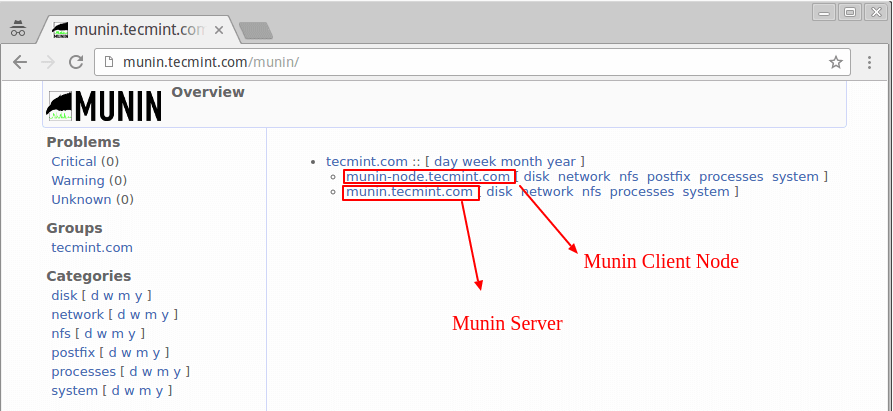
另一款優秀的伺服器監控工具Munin,是一款類似RRD tool 的非常棒的系統監控工具,它能提供給你多方面的系統性能信息,例如磁碟、網絡、進程、系統和用戶,Munin可以將這些資訊產生Html網頁,讓你可以直接透過網頁來瀏覽各類監控數據,Munin同樣支援主從模式監控。

身為草根站長,掌握一定的站長工具是十分有用的,尤其是在自己的伺服器遇到「攻擊」時這些「利器」就可以發揮它的防禦能力了。
- 伺服器日誌分析利器:ngxtop和GoAccess-即時監控視覺化管理快速找出異常來源
- Smokeping安裝與設定-免費開源網路效能監控工具視覺化主/從部署
- 三個命令工具Rsync,SCP,Tar-快速解決VPS遠端網站搬家與資料同步
一、ntopng安裝與使用
1.1 安裝前準備
官網:
- HTTP://嗚嗚嗚.年top.org/
以Ubuntu 16.04作為演示,在開始安裝前,先升級一下:
sudo apt-get update -y
sudo apt-get upgrade -y
sudo shutdown -r now
1.2 安裝Ntopng
直接使用指令安裝即可:
sudo apt-get install ntopng
1.3 配置Ntopng
設定檔位於: /etc/ntopng.conf.
sudo vim /etc/ntopng.conf
根據你自己的需要來修改配置:
# DO NOT REMOVE the following option, required for daemonization.
-e=

# * Interfaces to sniff on: one interface per line, prefix with -i=
# If none is specified, ntopng will try to auto-detect the best interface.

-i=eth0

# * Port on which ntopng will listen for the web-UI.
-w=3000
儲存設定文件,然後重新啟動 ntopng :
sudo systemctl restart ntopng
ntopng也提供非常多的選項,你可以使用 ntopng -h 來查看:
sudo ntopng -h
1.4 開啟端口
你需要在VPS的防火牆中開啟相應的端口,例如上面用了3000,那麼你就需要在防火牆規則中加入:
sudo ufw allow 3000
1.5 Ntopng使用
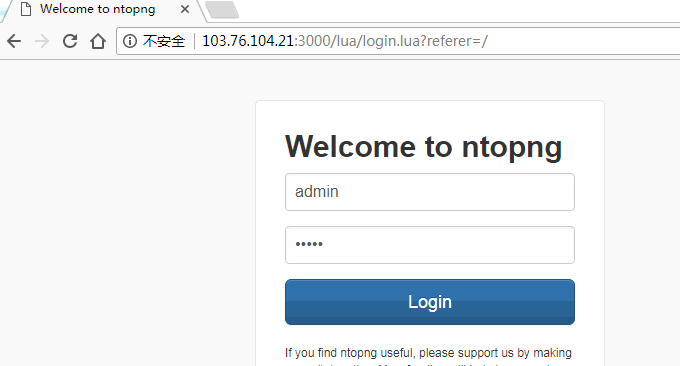
打開你的瀏覽器,訪問IP+連接埠號,你就可以看到Ntopng的登入介面了,使用預設的使用者名稱 admin 和密碼 admin 登入即可。
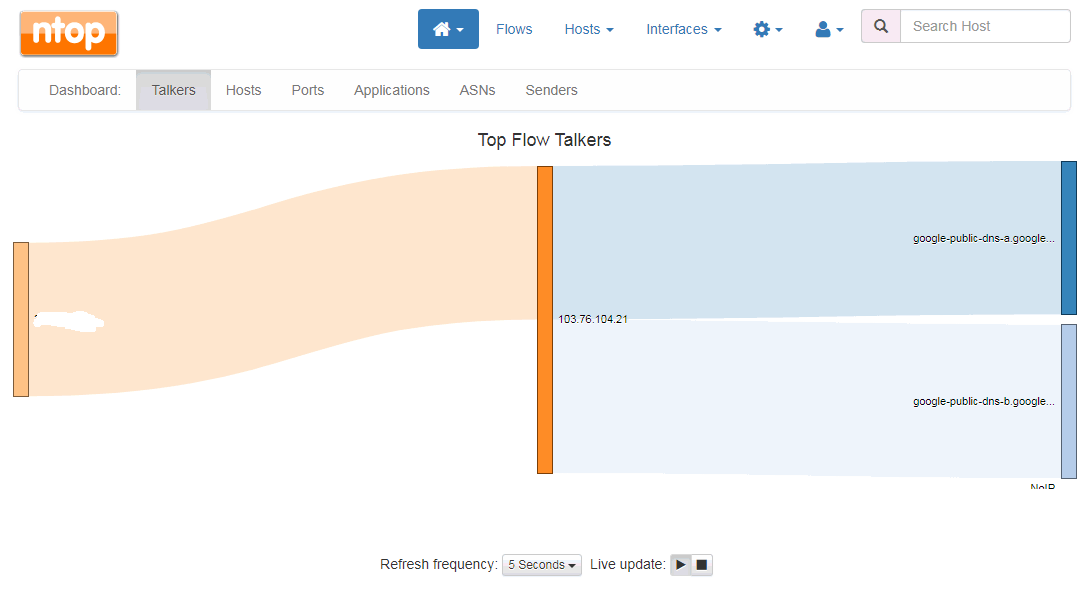
Ntopng提供了非常漂亮的網路流量圖。
點擊還可以查看即時的連接數據分析,包括IP位址、上傳下載速度、協定、進程等等。

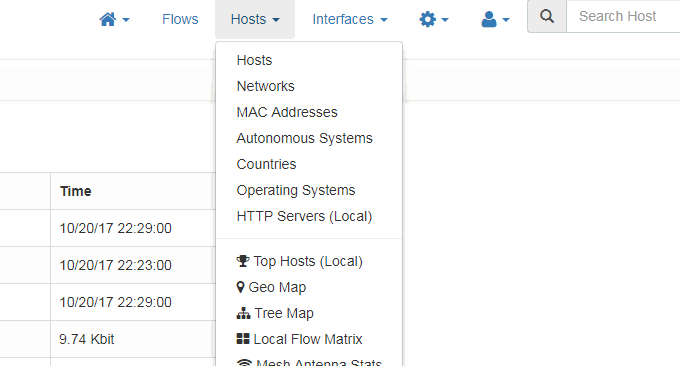
Ntopng也有豐富的圖表可供選擇,例如依照IP位址、網路連線用戶端、作業系統、Mac位址等列出流量分析圖。
如果你對於某一個連接感興趣,可以點擊進入到查看詳情頁面,這裡Ntopng會顯示出當前IP連接伺服器的詳細信息,例如時間、協議、上傳、下載、Mac等。 (點擊放大)
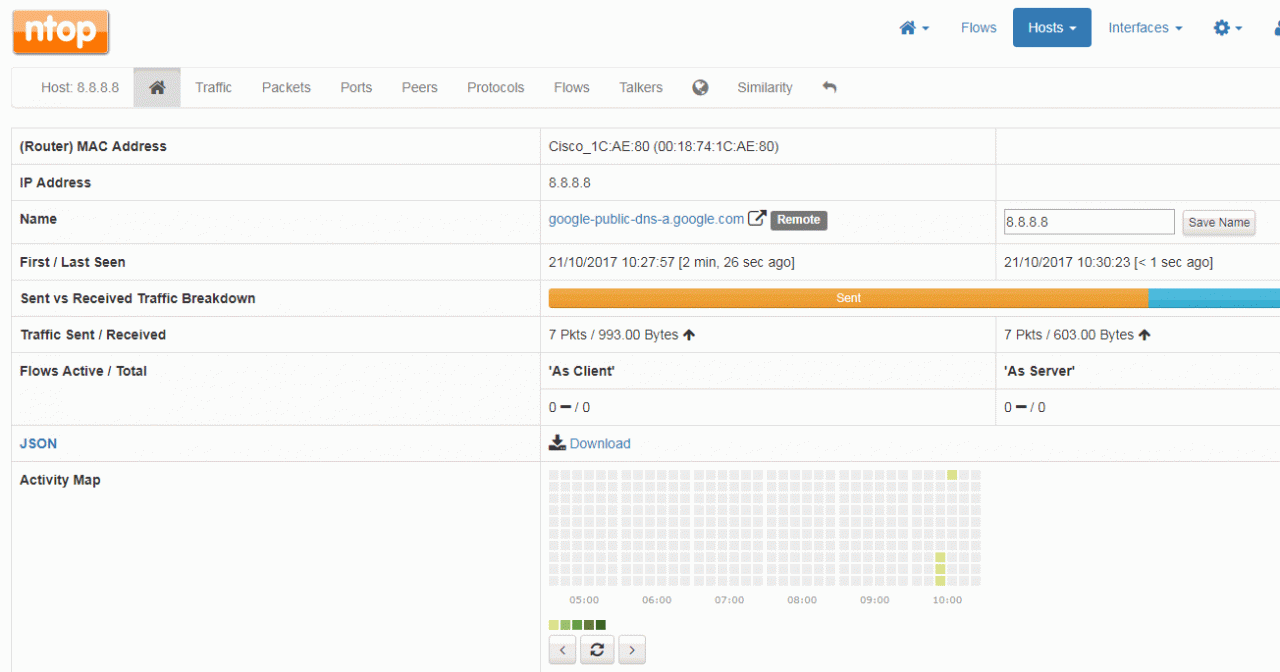
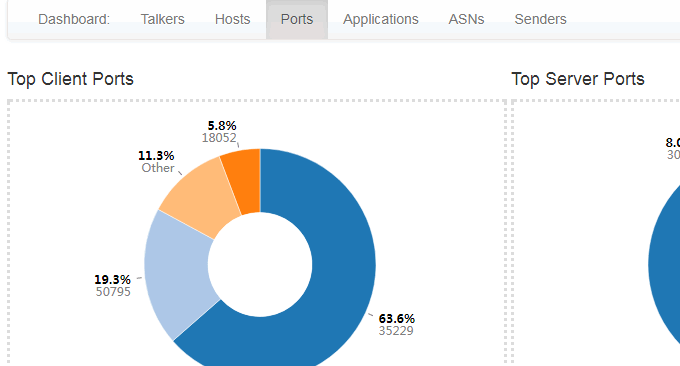
Ntopng還有一些常規的統計匯總,例如連接埠佔用情況統計匯總。
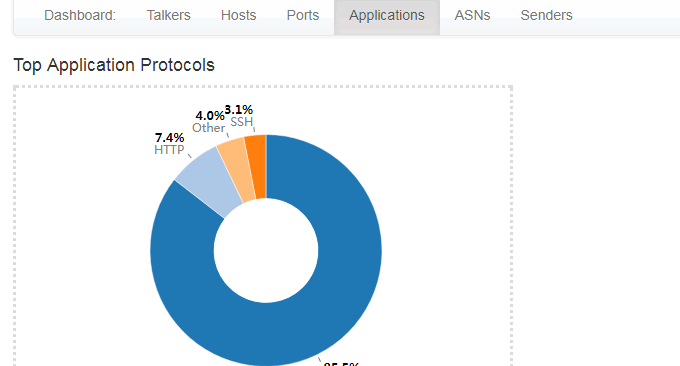
還有應用統計匯總。
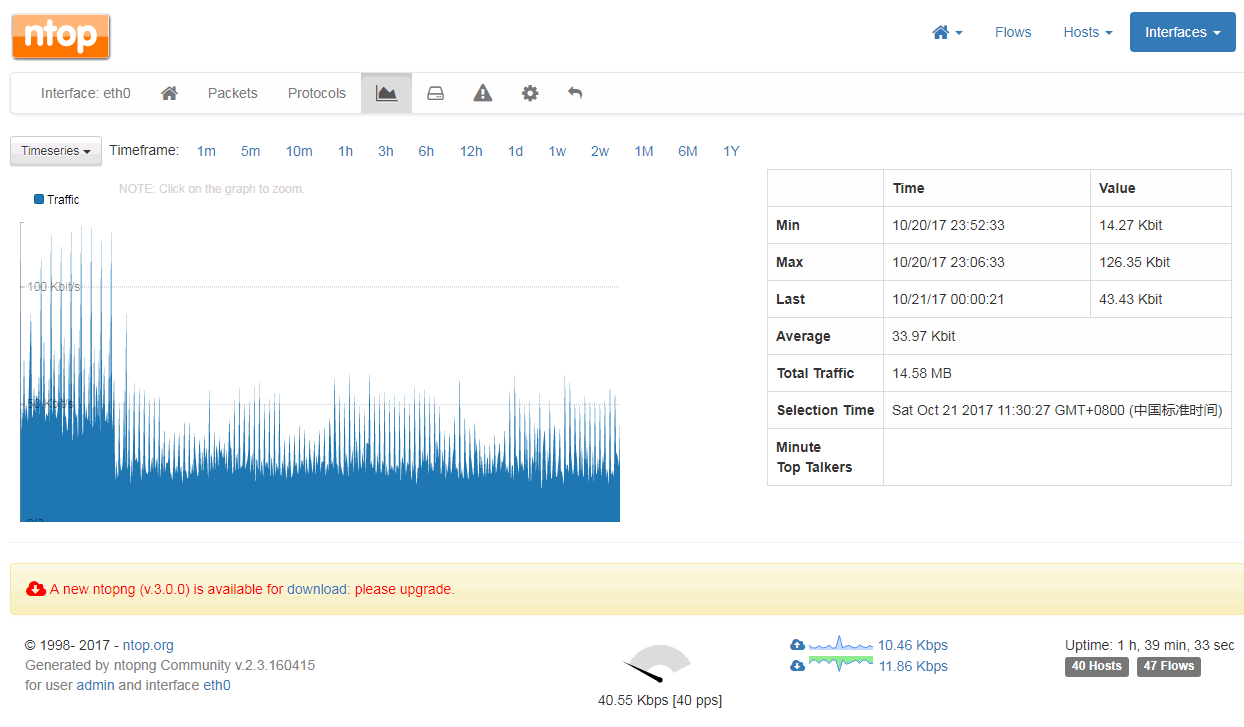
還的依照時間存檔統計匯總的網路卡流量狀況,從5分鐘到1年都可以,包含即時流量統計。你只需要點擊你想要顯示的時間軸。 (點擊放大)
二、Munin安裝與使用
官網:
- HTTP://木您-monitoring.org/
2.1 快速安裝Munin
如果你的伺服器已經設定好Web環境,那麼你只需要安裝Munin即可,如果是Debian或Ubuntu系統:apt-get install munin munin-node,如果是Redhat或CentOS系統:yum install munin munin-node。
然後開啟munin的主設定檔:/etc/munin/munin.conf,htmldir /var/www/munin 是Web存取的路徑,你可以將一些路徑指定到一個可以直接使用Web存取的地方。
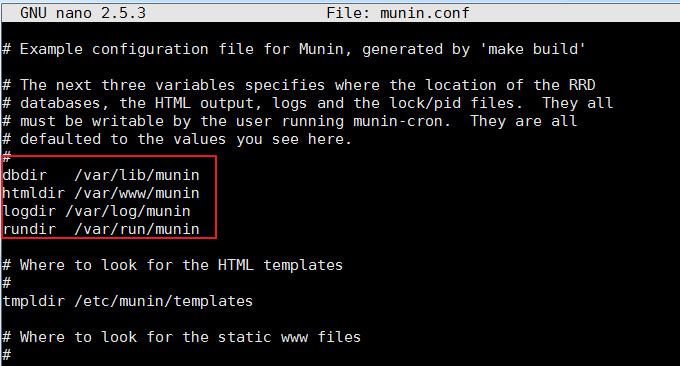
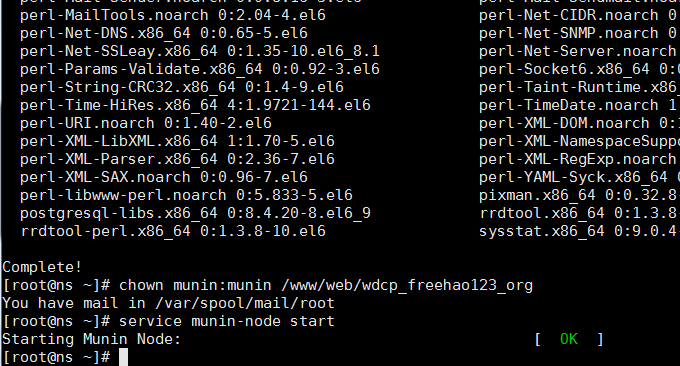
指定好Web存取目錄後,需要將目錄權限設定為munin,否則munin無法寫入資料。指令:chown -R munin:munin /home/wwwroot/monin
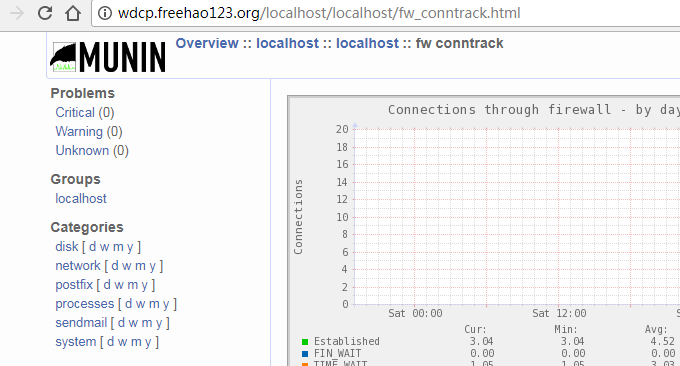
最後,等上半小時,打開你的網站就可以看到munin的監控圖表數據了。
2.2 手動安裝Munin
假如你沒有安裝Web環境,例如LNMP、Oneinstack,那麼你採用手動安裝Apache和Munin的方法。這裡以 CentOS 和 Fedora為示範:
2.3 安裝 EPEL Repository
使用以下命令安裝:
RHEL/CentOS 7
------------------ RHEL/CentOS 7 - 64-Bit ------------------
# wget http://dl.fedoraproject.org/pub/epel/7/x86_64/e/epel-release-7-9.noarch.rpm
# rpm -ivh epel-release-7-9.noarch.rpm
RHEL/CentOS 6
------------------ RHEL/CentOS 6 - 32-Bit ------------------
# wget http://download.fedoraproject.org/pub/epel/6/i386/epel-release-6-8.noarch.rpm
# rpm -ivh epel-release-6-8.noarch.rpm
------------------ RHEL/CentOS 6 - 64-Bit ------------------
# wget http://dl.fedoraproject.org/pub/epel/6/x86_64/epel-release-6-8.noarch.rpm
# rpm -ivh epel-release-6-8.noarch.rpm
RHEL/CentOS 5
------------------ RHEL/CentOS 5 - 32-Bit ------------------
# wget http://download.fedoraproject.org/pub/epel/5/i386/epel-release-5-4.noarch.rpm
# rpm -ivh epel-release-5-4.noarch.rpm
------------------ RHEL/CentOS 5 - 64-Bit ------------------
# wget http://download.fedoraproject.org/pub/epel/5/x86_64/epel-release-5-4.noarch.rpm
# rpm -ivh epel-release-5-4.noarch.rpm
安裝了升級一下:
------------------ On RHEL and CentOS Only ------------------
# yum -y update
2.4 安裝Apache
Munin 需要 Apache 或 Nginx 來提供靜態Html訪問,我們以安裝Apache為例:
------------------ On RHEL, CentOS and Fedora ------------------
# yum install httpd
------------------ On Fedora 22+ Releases ------------------
# dnf install httpd
Apache安裝好了後設定一下開機自啟動.
------------------ On RHEL, CentOS and Fedora ------------------
# service httpd start
# chkconfig --level 35 httpd on
------------------ On RHEL/CentOS 7 and Fedora 22+ ------------------
# systemctl enable httpd
# systemctl start httpd
2.5 安裝Munin 和 Munin-Node
安裝 Munin 和 Munin-Node 直接使用以下指令:
------------------ On RHEL, CentOS and Fedora ------------------
# yum -y install munin munin-node
------------------ On Fedora 22+ Releases ------------------
# dnf -y install munin munin-node
Munin安裝好了後,你就可以開始編輯Munin設定檔了,以下是Munin相關功能的目錄:
/etc/munin/munin.conf : Munin 設定檔.
/etc/cron.d/munin : Munin 定時檔.
/etc/httpd/conf.d/munin.conf : Munin Apache 設定檔.
/var/log/munin : Munin 日誌.
/var/www/html/munin : Munin web 目錄.
/etc/munin/munin-node.conf : Munin 從屬節點設定檔.
/etc/munin/plugins.conf : Munin plugins 設定檔.
最後,重新啟動 Munin 並設定開機自動啟動:
------------------ On RHEL, CentOS and Fedora ------------------
# service munin-node start
# chkconfig --level 35 munin-node on
------------------ On RHEL/CentOS 7 and Fedora 22+ ------------------
# systemctl enable munin-node
# systemctl start munin-node
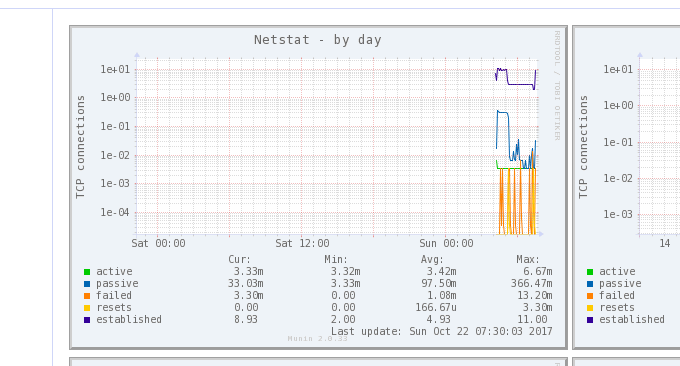
打開瀏覽器就可以看到Munin監控的資料圖表了。
2.6 Munin監控多台伺服器狀態
進入你的另一台VPS主機,你只需要安裝 munin-node 即可:
# yum install munin-node
# dnf install munin-node      [On Fedora 22+ versions]
# apt-get install munin-node  [On Debian based systems]
接著開啟 /etc/munin/munin-node.conf ,加入你的munin 主機伺服器 IP .
# vi /etc/munin/munin-node.conf
假設你的Munin主伺服器的IP是192.168.0.103,格式如下:
# A list of addresses that are allowed to connect.
allow ^127.0.0.1$
allow ^::1$
allow ^192.168.0.103$
重啟munin client:
------------------ On RHEL, CentOS and Fedora ------------------
# service munin-node start
# chkconfig --level 35 munin-node on
------------------ On RHEL/CentOS 7 and Fedora 22+ ------------------
# systemctl enable munin-node
# systemctl start munin-node
現在在你的Munin主伺服器中開啟: /etc/munin/munin.conf 新增你的client node ,主要是名稱還有IP位址:
# a simple host tree
[munin.wzfou.com]
address 127.0.0.1
use_node_name yes
[node.wzfou.com]
address 192.168.0.15
use_node_name yes
最後,重新啟動munin server 開啟 http://munin.wzfou.com/munin 就可以看到主從節點的監控資料圖表了。

三、總結
Ntopng和Munin都是非常優秀的網路監控工具,都可以產生圖表供線上瀏覽,但是兩個工具各有重點,Ntopng可以說是網路流量的專業級的監控,你甚至可以在Ntopng中看到網絡連接客戶端的各種信息,這對於分析網路攻擊十分有用。
Munin可以說是一個綜合性的伺服器效能監控平台,除了可以得到網路流量等訊息,還可以看到硬碟容量、IO讀寫、CPU使用、記憶體佔用等各類信息,比較適合用於伺服器的全方位監控。 Munin產生的資料圖表如果你不想公開的話,可以利用Apache設定存取密碼。
