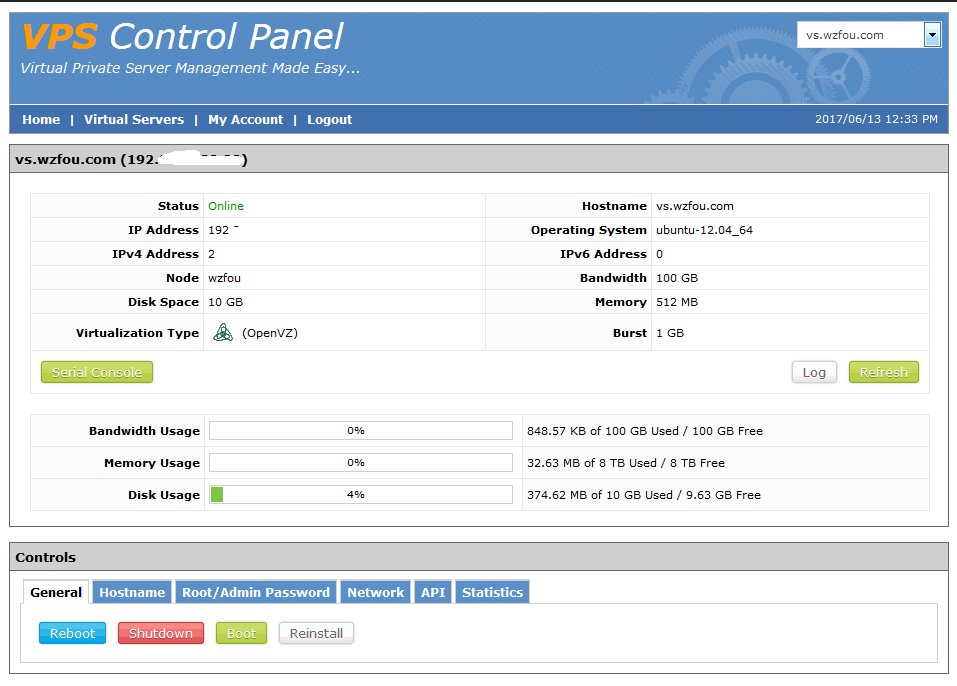
SolusVM is a powerful foreign VPS host management and control system. When we usually use foreign VPS hosts, we may also have used the SolusVM panel. Many VPS hosts are built based on SolusVM. However, that is basically the client of SolusVM, and the server of SolusVM is used to manage all VPS.
SolusVM is equivalent to a set of software such as Cpanel/WHM. It can help you implement server virtualization, create and manage new OpenVZ, KVM and Xen VPS hosts. You can add accounts with different permissions and set VPS bandwidth and memory for different users. , CPU, hard disk and other configurations, and upload and install the OS template at the same time.
This article will share the server virtualization solution, quickly install SolusVM, and introduce the basic methods of SolusVM to create VPS, add IP, set permissions, and add VPS packages. If you want to learn more about server virtualization technology, it is best to carefully study the technical documentation on the official website, which will be more systematic.

PS: Updated on September 3, 2018, SolusVM can also be used to open NAT VPS, which is especially suitable for shortage of IP resources or cost saving. For the method, see: Use SolusVM to open NAT VPS host on server/VPS- Integrate WHMCS and start selling NAT VPS.
PS: Updated on November 2, 2018, Friends who have not used an independent server can learn how to use IPMI to install the operating system on an independent server: Independent server uses IPMI to install the operating system graphic tutorial - iKVM use , hard disk partition and mount ISO.
1. SolusVM management panel installation
SolusVM panel is not a free panel, it is a paid product. Its authorization is divided into two types: main control and controlled. The main control price is 10 US dollars a month, and the controlled one is 2.5 US dollars. Generally speaking, you need to install at least one master. If you have multiple independent servers, you can add multiple slaves, so that you can create your own server group.
PS: Updated on November 21, 2018, The SolusVM installation process shared in this article is outdated. For the new version of the installation process, please refer to: SolusVM installation graphic tutorial and method of opening KVM VPS host-SolusVM master control and Controlled installation process.
1.1 SolusVM installation command
SolusVM official website:
- Official homepage: http://solusvm.com/
The operating systems supported by SolusVM are CentOS 5/6, RHEL 5/6, and Scientific Linux 5/6. Its quick installation command is as follows:
wget http://soluslabs.com/installers/solusvm/install
chmod 755 install
./install
2.1 SolusVM installation process demonstration
It will first ask you for your operating system version.

The next step is to select the SolusVM version. The default is 1.
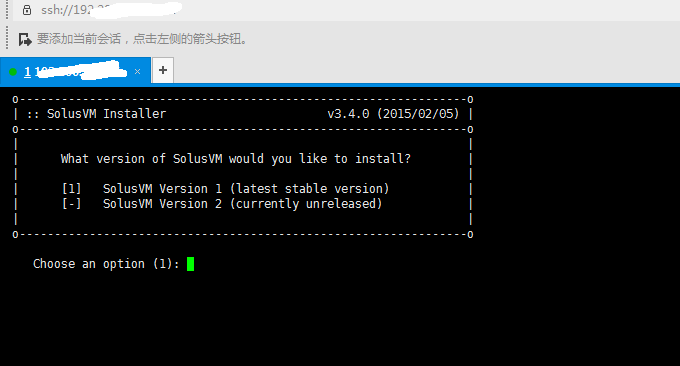
Then it’s time to select the mirror point. By default, it will be automatically selected.

The last step is to choose whether to install the main control terminal or the controlled terminal.
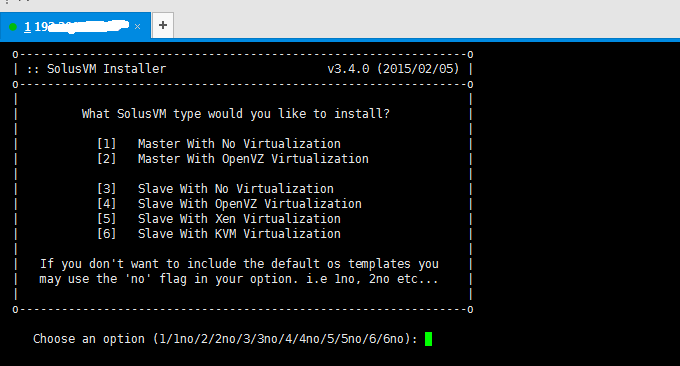
The installation of SolusVM is also very fast. It can be completed in about ten minutes. After the installation is successful, you will see the login address of SolusVM. The default account and password are apsadmin.

2.3 Things to do after SolusVM installation
After installing SolusVM, you can see this prompt:
Edit /boot/grub/grub.conf and make sure the server is set to boot into the OpenVZ kernel.
Please set SELINUX=disabled in /etc/selinux/config before rebooting.
You need to check whether SELINUX has been turned off on your server and whether /boot/grub/grub.conf has been set to OpenVZ kernel.
2. SolusVM usage tutorial
As mentioned above, SolusVM is a paid software. You need to go to the SolusVM official website to purchase a license. However, SolusVM now provides a one-month trial license for free, and you can apply directly online.
2.1 SolusVM panel activation
Go to the official website to apply for an authorization.
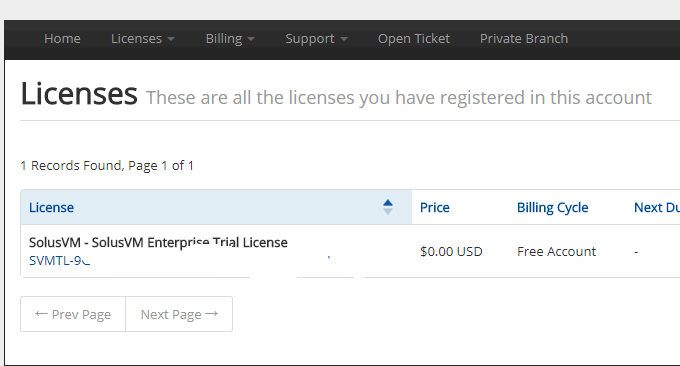
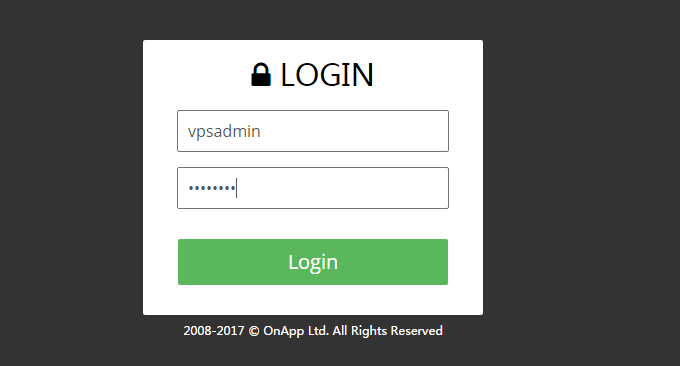
After obtaining authorization, you can open the SolusVM administrator login address, similar to: IP+5353/admincp, and enter the default account and password.
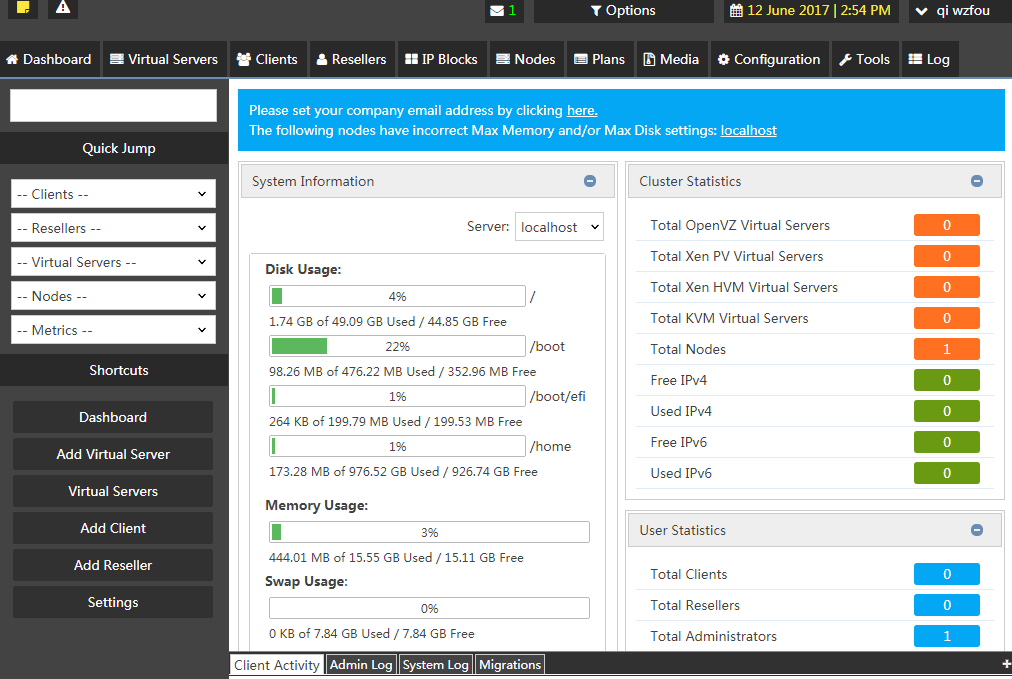
After entering the authorization activation successfully, this is the management panel of SolusVM, which mainly includes virtual machines, users, distribution, IP addresses, nodes, packages, media, settings, etc. (Click to enlarge)
The first thing you need to do after logging into SolusVM is to change the administrator's default password. This password change can be found in Settings - Administrator.

2.2 Add IP address
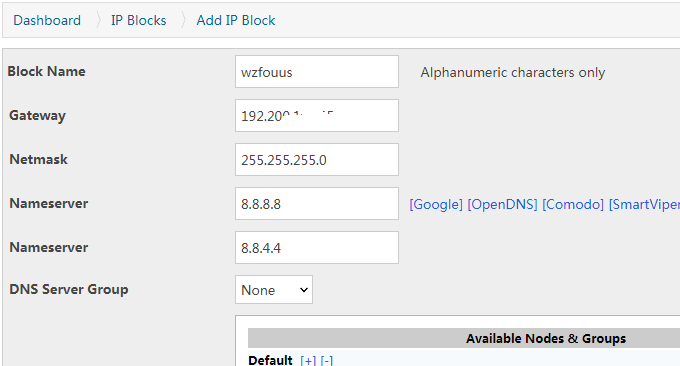
Enter "IP Address", click Add, enter the gateway, NS, corresponding node, and all your IP addresses, and confirm.
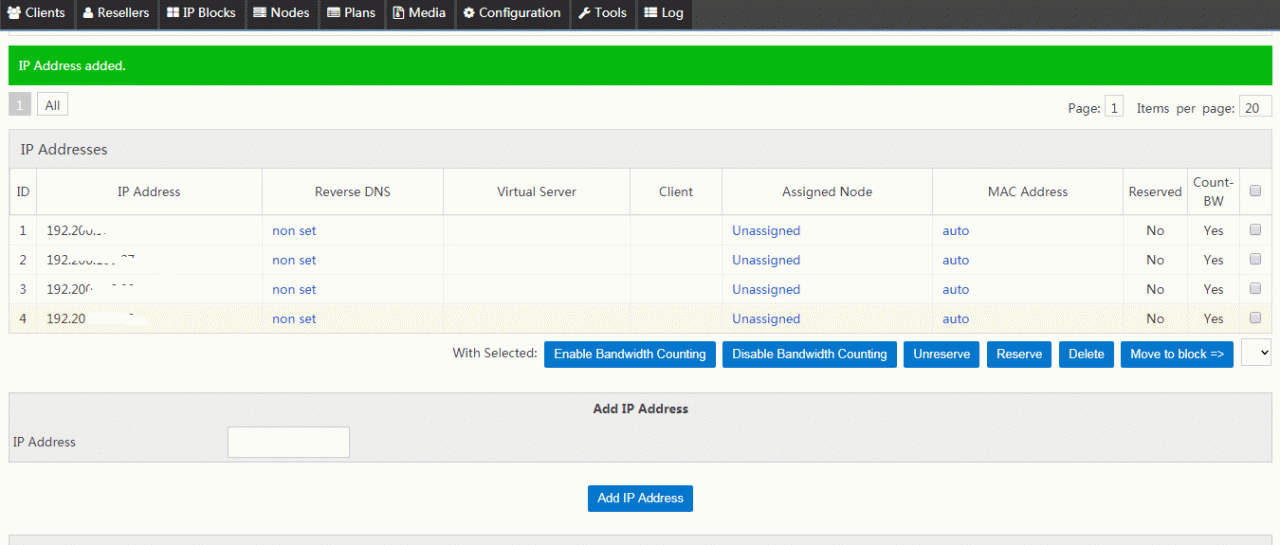
After the IP is added successfully, you can also see which IPs are not assigned and which ones can be used in the IP list.
2.3 Add user
If you want the virtual VPS host to be used by other people, you can create an account for them and let them log in and manage their own VPS. This function can be found in the "User" item.

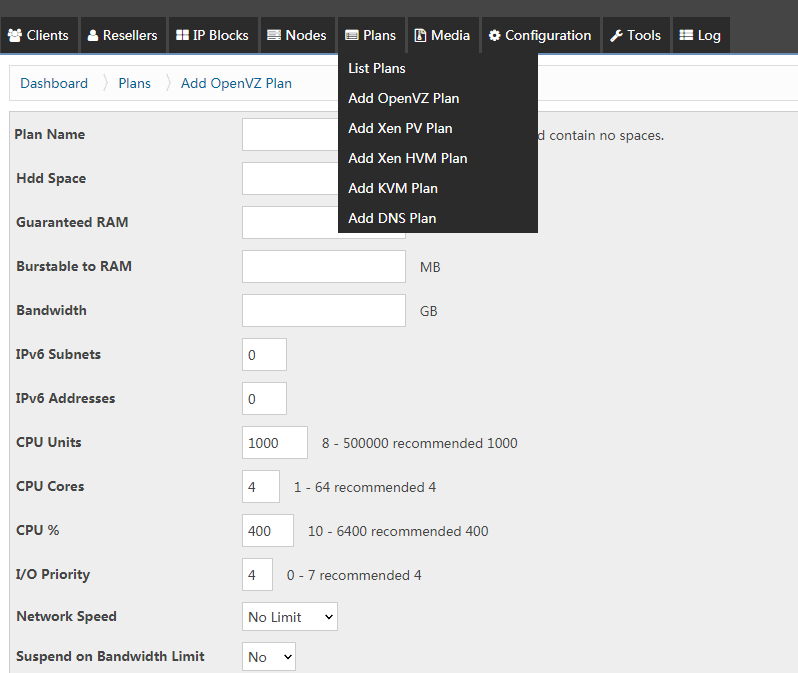
2.4 Set up VPS package
This VPS package is mainly for setting up VPS in batches. You can set up VPS memory, hard disk, bandwidth, CPU and other packages in advance. (Click to enlarge)
2.5 Open VPS
After completing the above operations, go to the virtual machine item and click Add.
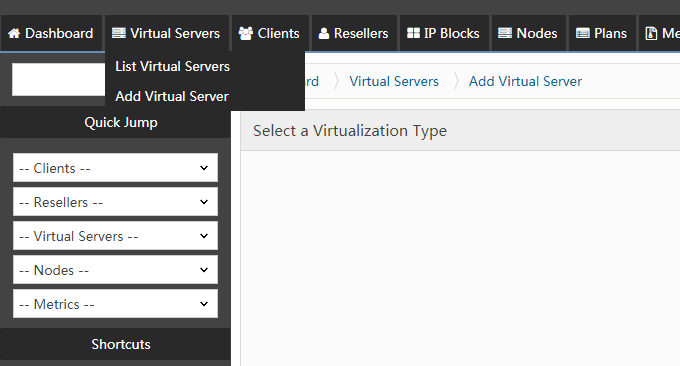
Choose OpenVZ, KVM and Xen VPS. If KVM and Xen are not configured properly, you can choose OpenVZ first.

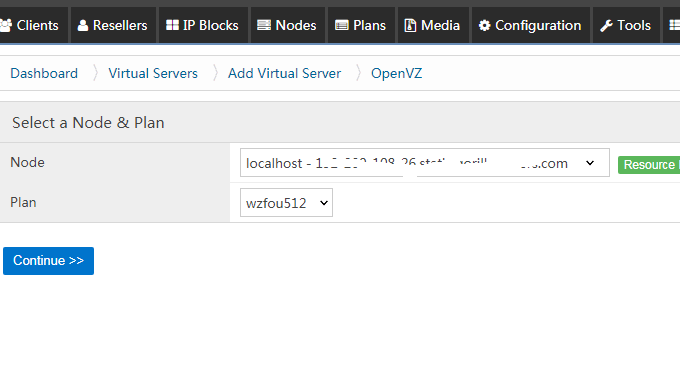
Determine the node.
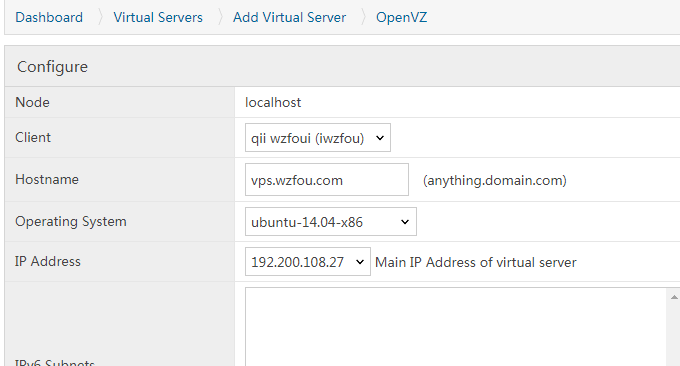
Choose the operating system, IP address, domain name, etc. for your VPS.
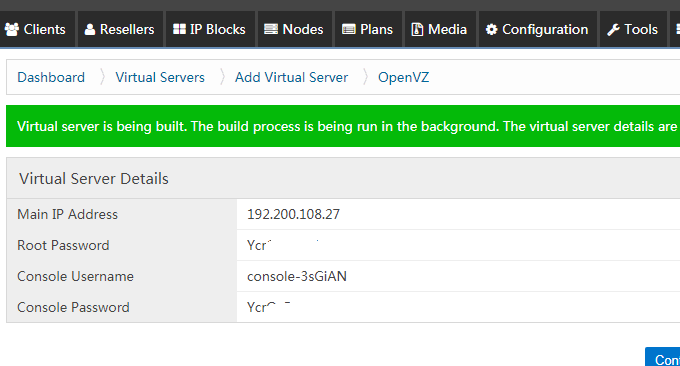
After confirming, you can see that the VPS host has been successfully set up.
3. Several problems in using SolusVM
The installation and use process of SolusVM is quite simple. You need to choose an independent server for installation. I had no problems in the CentOS 6 test. If you encounter problems with other versions, you can refer to the official documentation for detailed analysis of specific problems. Here are a few problems I encountered during installation and use for your reference:
3.1 How to turn off SELinux
Execute the command: /usr/sbin/sestatus -v to see if it is prohibited. If not, edit: vim /etc/selinux/config and change it to SELINUX=disabled.
[root@192-200-108-26 ~]# vim /etc/selinux/config
# This file controls the state of SELinux on the system.
# SELINUX= can take one of these three values:
#     enforcing - SELinux security policy is enforced.
#     permissive - SELinux prints warnings instead of enforcing.
#     disabled - No SELinux policy is loaded.
SELINUX=disabled
# SELINUXTYPE= can take one of these two values:
#     targeted - Targeted processes are protected,
#     mls - Multi Level Security protection.
SELINUXTYPE=targeted
3.2 Failed to create VPS
There will be this error in the SolusVM prompt: Directory /proc/vz not found, assuming non-OpenVZ kernel, open the file: /boot/grub/grub.conf and check whether OpenVZ is set to default=0 in the first line.
Different operating systems may have grub.conf in different locations, please use the following command to search it out:
[root@196 ~]# find / -name grub.conf
/boot/efi/EFI/redhat/grub.conf
/etc/grub.conf
3.3 Linux settings gateway and IP
To view the machine's IP address, DNS, gateway, routing and other information on Linux, you can use the following command:
1.ifconfig -a 和 cat /etc/resolv.conf
2.netstat -rn
3.cat /etc/sysconfig/network
4.cat /etc/sysconfig/network-scripts/ifcfg-eth0
5.traceroute
6.ip route show
7.route -n
Set IP. Execute: vi /etc/sysconfig/network-scripts/ifcfg-eth0, and then you can see the code as follows:
DEVICE=eth0
BOOTPROTO=static
ONBOOT=yes
HWADDR=00:16:36:66:a3:ec
IPADDR=10.0.0.11
NETMASK=255.255.255.0
GATEWAY=10.0.0.1
TYPE=Ethernet
USERCTL=no
IPV6INIT=no
PEERDNS=yes
Relevant instructions are as follows:
1.BOOTPROTO=static means manually setting a static IP, no need to automatically obtain (static/dhcp/bootp)
2.USERCTL=no does not allow non-root users to control the device
3.PEERDNS=no Do not modify /etc/resolv.conf (if DHCP is used, yes is the default option)
4.TYPE=Ethernet type Ethernet
5.GATEWAY gateway
6.NETMASK mask
7.ONBOOT=yes It will be loaded automatically after power on and restartRed Hat does not provide a default /etc/resolv.conf file, its contents are dynamically created based on the options given during installation.
Modify the gateway. Execute: vim /etc/sysconfig/network to add a gateway information.
GATEWAY=192.168.1.1
Modify DNS. Execute: vim /etc/resolv.conf to add DNS information.
nameserver 192.168.1.1
3.4 How to upload the operating system
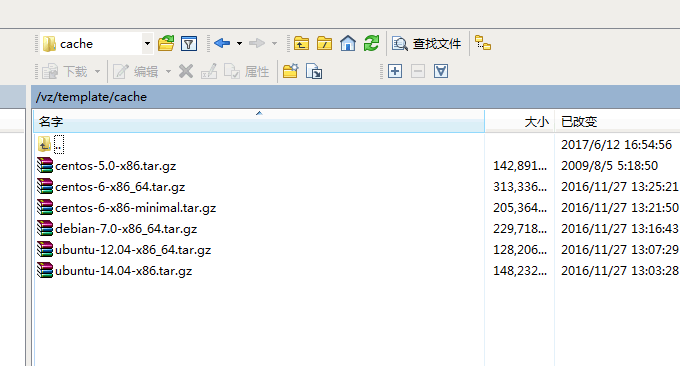
SolusVM only has CentOS 5 by default, but we can add the Linux operating system directly. It can be downloaded here: https://openvz.org/Download/template/precreated
Download the operating system of this page to: /vz/template/cache, just don't unzip it.
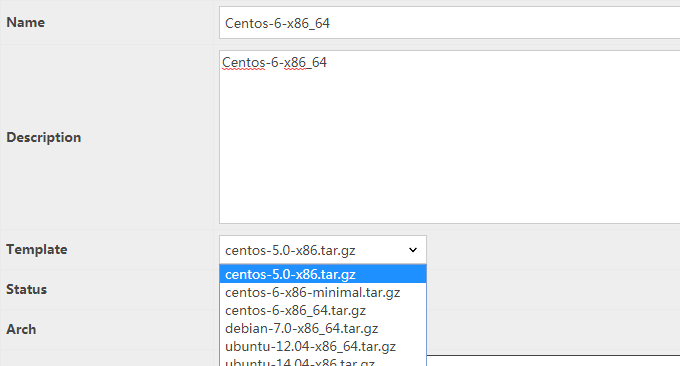
At this time, you can choose more operating systems when creating a VPS.
4. Summary
The login address for SolusVM user management VPS is: http://IP:5353. The account and password are the ones you just created.

This is the SolusVM client management interface, which is the same as the VPS SolusVM panel we usually use. Reinstalling the VPS, shutting down, restarting, etc. can be achieved. (Click to enlarge)

I would like to express my gratitude to all the friends who have cared about me recently. Regarding the future update direction and content of the blog, you can also take a look: Goodbye - that 8-year tribal journey, hello - the unknown persistence is about to begin: dig the site?
