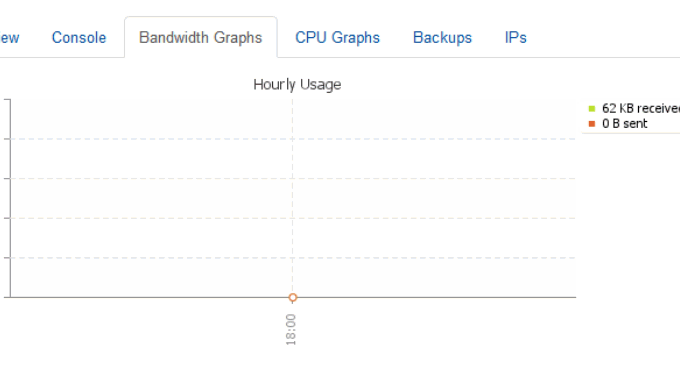
Last time I shared how WHMCS integrates Vultr to automatically activate the VPS host. Many friends left messages asking if there are any plug-ins for WHMCS to integrate Linode and Digitalocean. After carefully checking the documentation, WHMCS does provide plug-ins for Linode and Digitalocean to automatically sell and activate VPS, but they are expensive, hundreds of dollars each. However, the official website of VPS.net provides a WHMCS docking plug-in, and it is free. It is also very powerful in terms of functions. It is basically equivalent to the VPS host control panel of VPS.net, including VPS reinstallation, shutdown, restart, upgrade, password change, etc. In addition, you can also sell VPS.net independent servers, which is almost half a VPS server vendor. The VPS host price of VPS.net is more expensive than that of Vultr, but VPS.net has more than a dozen computer rooms to choose from, and there are also add-ons such as snapshots, synchronization, and Cpanel panels. All functions can be realized in WHMCS, and the functions are very powerful. The most important thing is that the integration plug-in launched by VPS.net is very compatible with WHMCS and no bugs have been found.  For more articles about WHMCS and VPS hosting, you can also read:
- WHMCS adds Alipay and WeChat payment, theme template modification method and PDF invoice garbled problem resolution
- Vestacp Issues: SSL Certificates, HTTP/2, Website Statistics, Online File Management and 301 Redirects
- WHMCS integrates Vultr to automatically activate VPS host method - realize VPS distribution on WHMCS
1. Preparation work before integration
Be familiar with WHMCS. Regarding the installation and use of WHMCS, you can read the articles I wrote before: WHMCS installation and use tutorial and WHMCS adding Alipay and WeChat payment. VPS.net account. You need a VPS.net account and access to the API. For information on VPS.net, you can read: VPS.net’s VPS host experience - account verification and VPS host performance and speed evaluation. Install vpsnet whmcs plugin. Official download address: http://www.vps.net/whmcs/vpsnet-whmcs-plugin.tar.gz, alternate download address: https://www.ucblog.net/wzfou/vpsnet-whmcs-plugin .tar.gz First delete the built-in VPS.net interface, path: {WHMCS root}/modules/servers/vpsnet/, then decompress the downloaded plug-in compressed package and upload it according to the following path.{WHMCS root}/admin/images/ {WHMCS root}/modules/servers/vpsnet/ {WHMCS root}/modules/servers/vpsnet/charts/ {WHMCS root}/modules/addons/vpsnet/ {WHMCS root}/templates /portal/vps/ {WHMCS root}/templates/default/vps/ {WHMCS root}/noVNC {WHMCS root}/lang/overrides/ {WHMCS root}/vps-cloud.php {WHMCS root}/nodecart.phpSpecial note: If you are not using the default theme, you need {WHMCS root}/templates/default/vps/, copied to: {WHMCS root}/templates/{current template name}/vps/. Finally, modify the permissions of the following folders:
chmod 0777 {WHMCS root}/modules/servers/vpsnet/charts/2. Activate the VPS.net plug-in
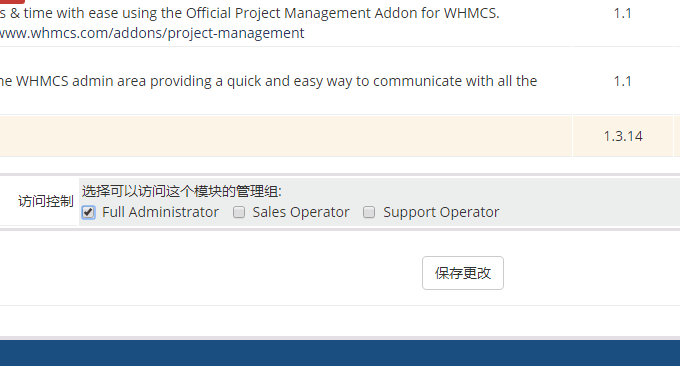
First, go to the system settings, and then select activate vpsnet whmcs plugin in the module plugin.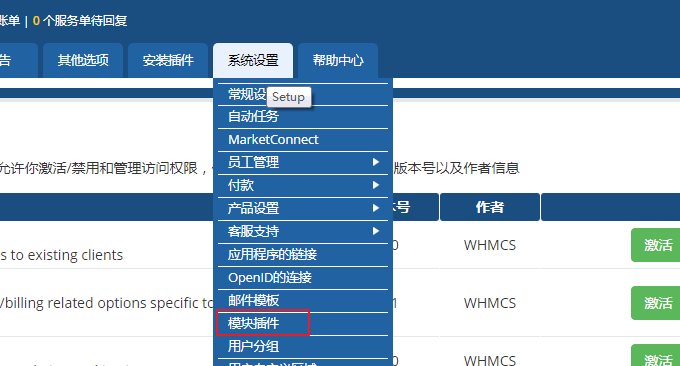 After activation, click "Configuration", check 'Full Administrator', and save.
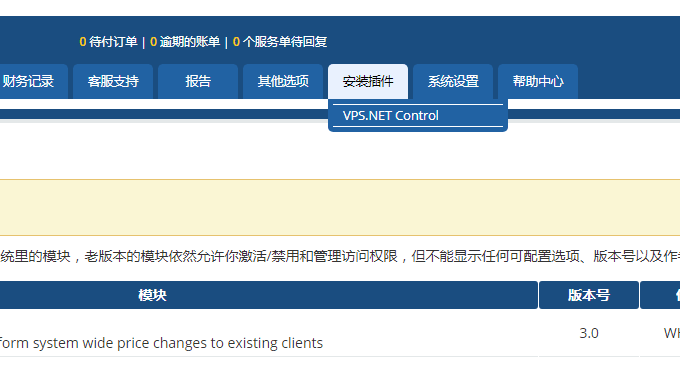
  Then, you can go into the plug-in and find VPS.NET Control to start making relevant settings.
  If there is no API yet, you need to first go to the user profile page of VPS.NET to generate an API.
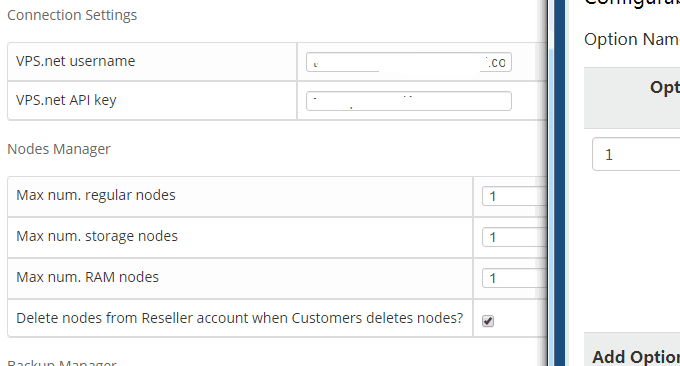
 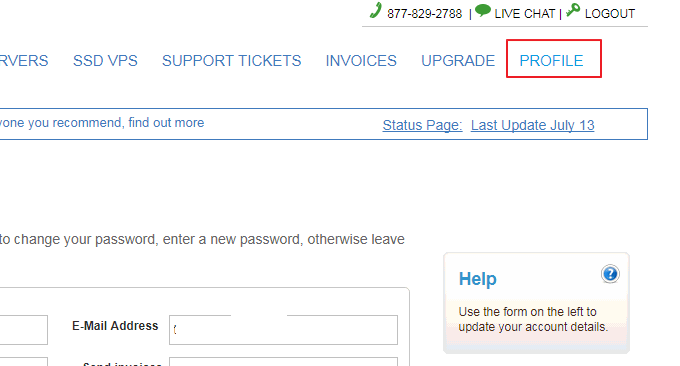 Then fill in your email address, API, and set the maximum amount of memory, storage, and hosts that the user can purchase on the same node, and set the price for the node.
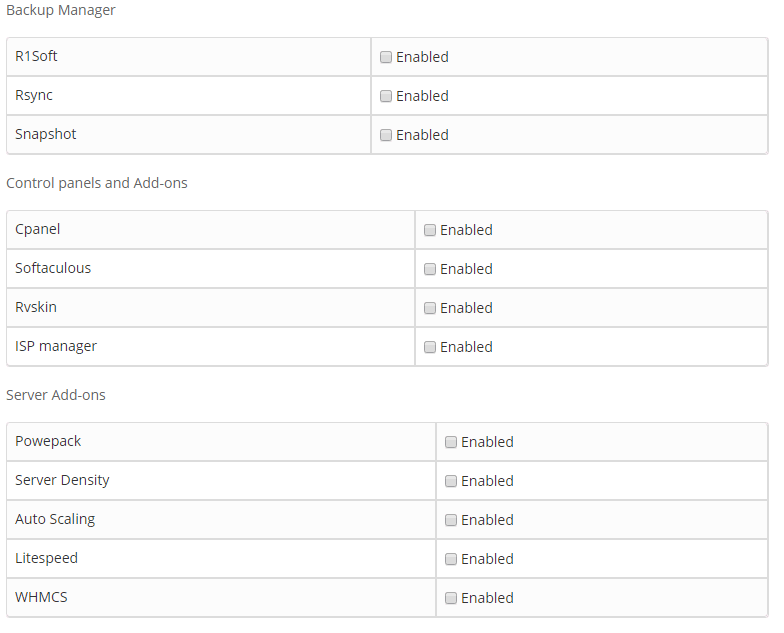
  For other functions, such as control panel, additional IP, data backup, etc., please enable them according to your own needs. These services are paid on VPS.ne.
3. Create VPS hosting products
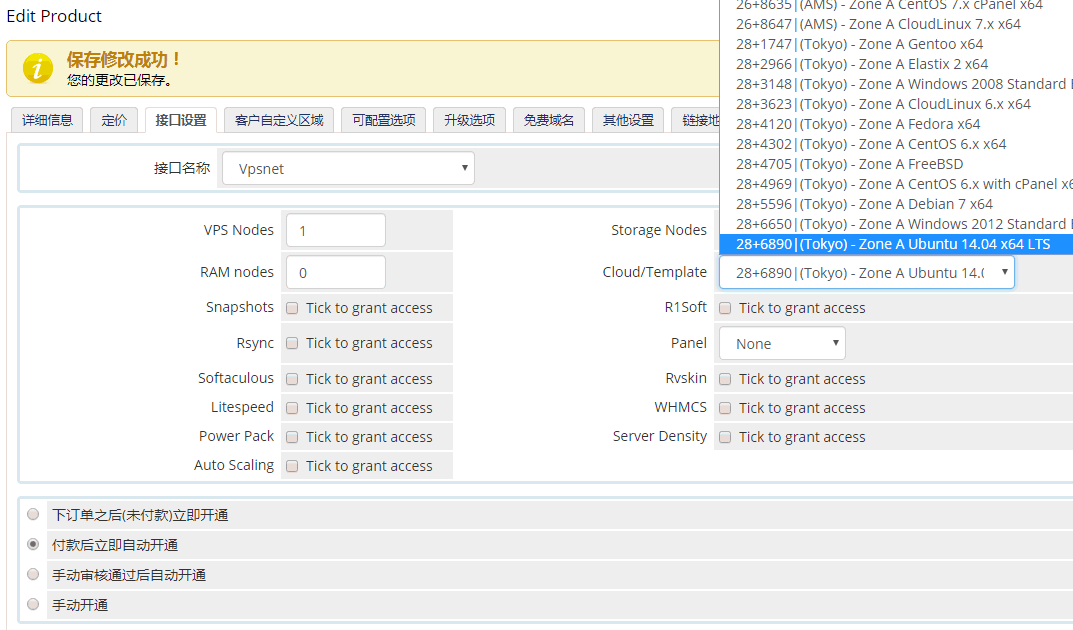
Go to WHMCS system settings "Product Settings" to add a product, select type: VPS, product group: select Cloud Hosting, the product name can be customized.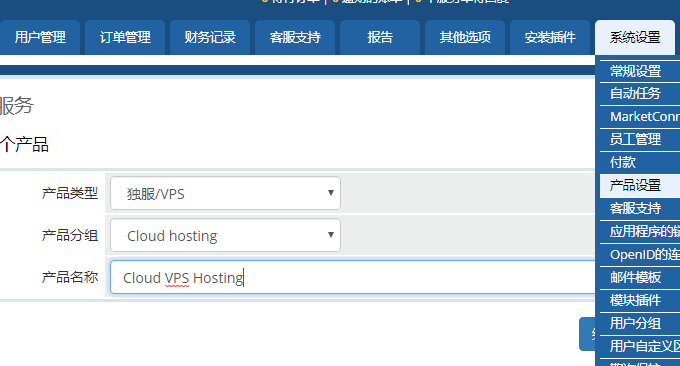 Finally, jump to the product details, pricing, interface and other settings of WHMCS. Select VPS.net in the interface. Here you can set the memory, computer room, operating system, etc. for purchasing the VPS. At the bottom, select automatic activation after payment. VPS. (Click to enlarge)
4. Integrate VPS.net interface
Click on the purchase VPS interface in WHMCS. After the customer successfully pays in WHMCS, they can enter the WHMCS Customer Center to see the VPS they have successfully purchased.
 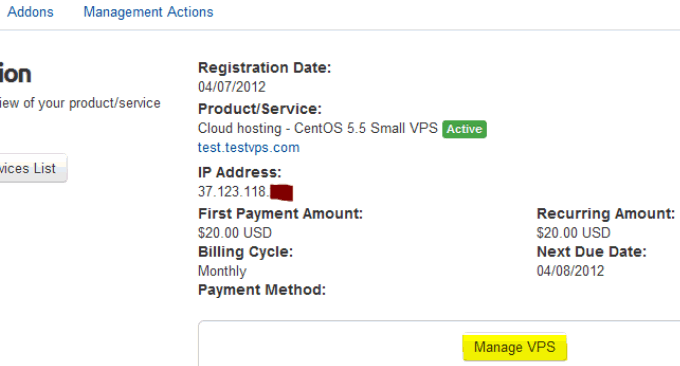 This is the VPS management center after WHMCS integrates VPS.net. It includes system reinstallation, shutdown, VPS details, etc.
  VPS usage, such as CPU, memory, traffic, etc., can be viewed in WHMCS.
  PS: Updated on April 3, 2019, WHMCS open source payment gateway can be found here: WHMCS payment gateway - open source and free WHMCS Alipay, WeChat and Youzan plug-in installation and use.